

Eploy
Generate your Credentials
Setting Up An API User
-
Login to your Eploy Account.
-
Go to
Admin > Users, Roles & Permissions. Here you will see all Users you have the ability to manage.An API User is a standard user within the system. However, there are certain stipulations to users that can be allocated to an API Key, i.e.
Only one ‘Role’ can be associated (users with more than one role cannot be allocated to an API key).
At least one IP range configured in the ‘Restricted IP Access’ section (without this, your API Key will be unable to connect).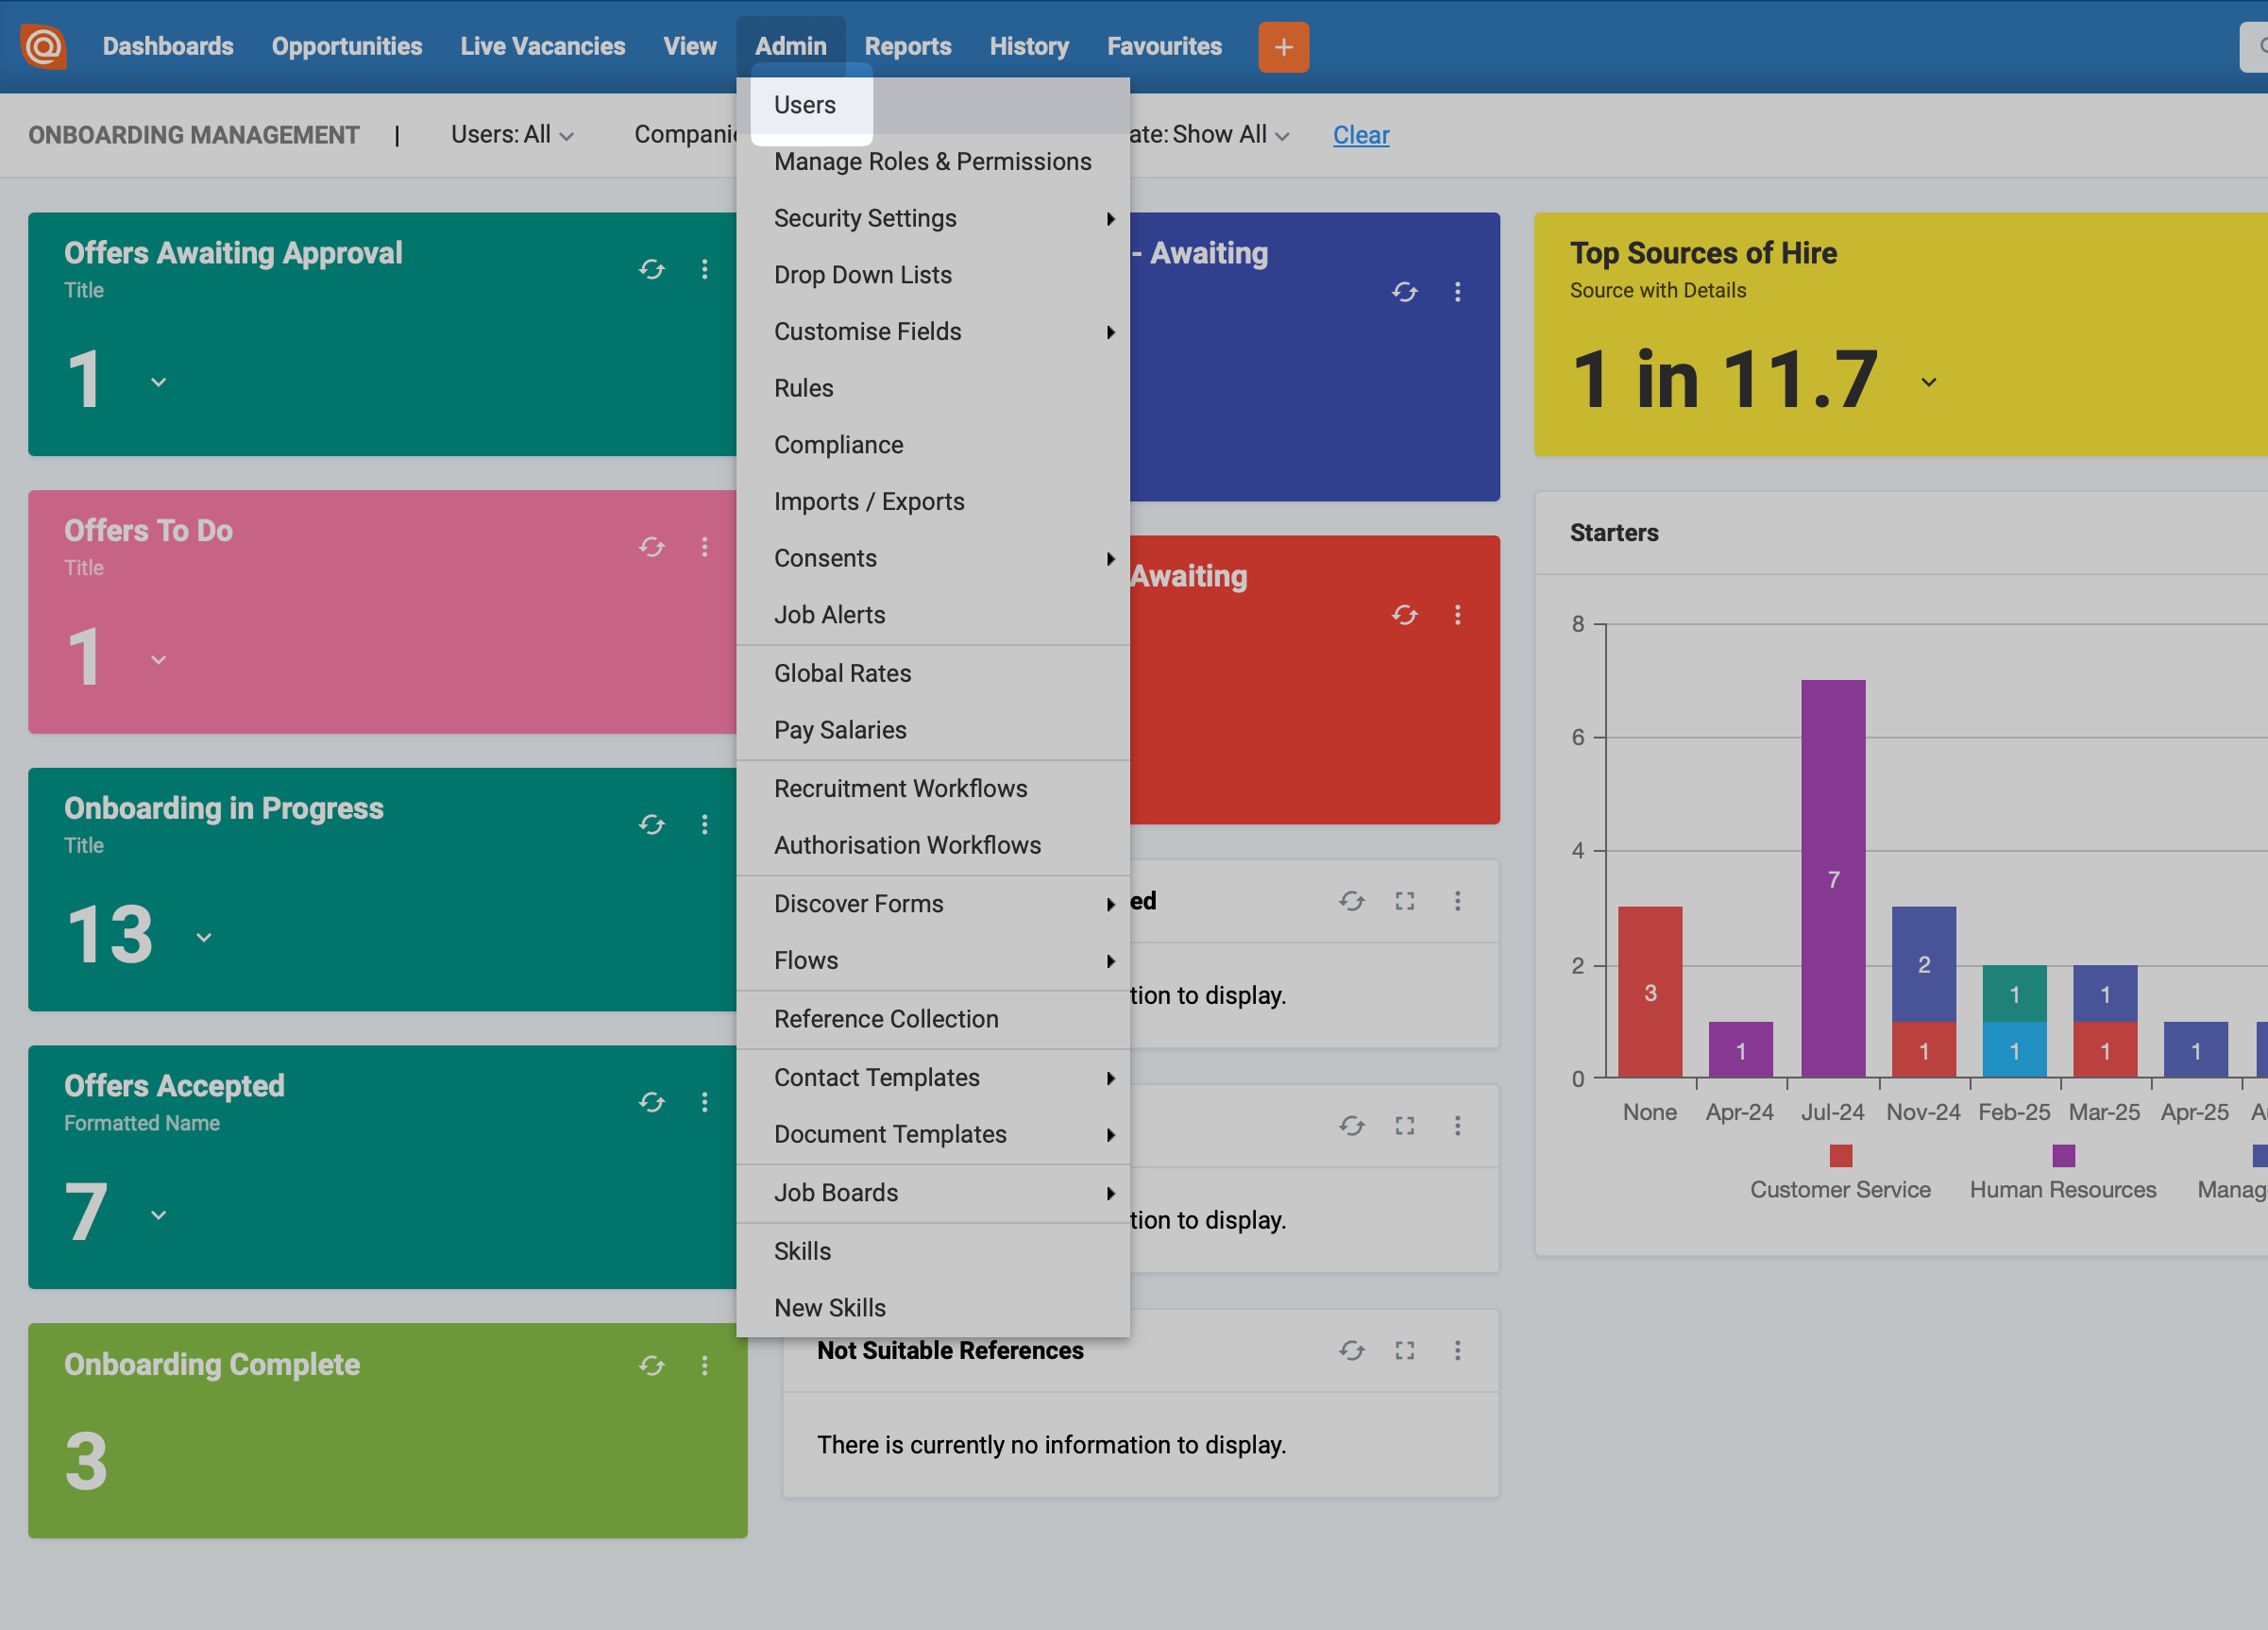
-
To create a new Standard User, navigate to
Admin > Users, Roles & Permissions > Usersthen, from the Toolbar, clickNew > Standard.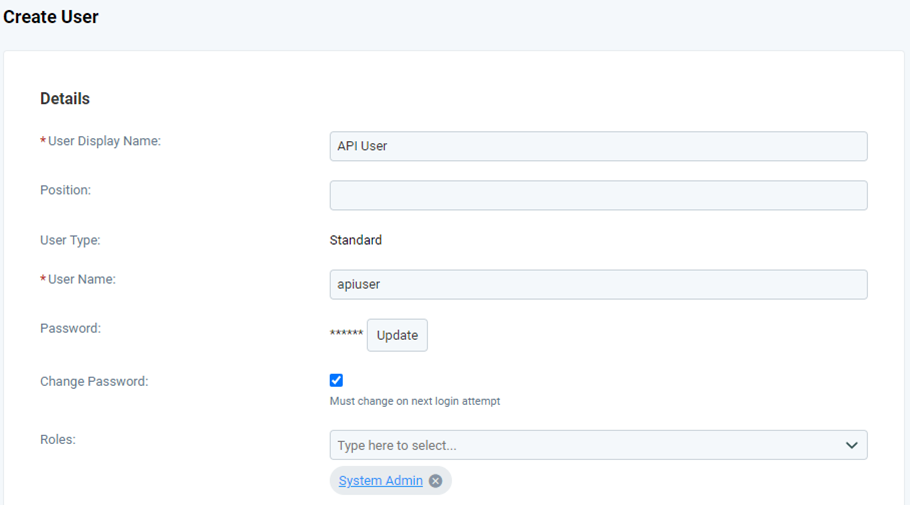
-
Provide the following information:
- User Display Name
- User Name
- Password - A password needs to be set in order to save the record, however no-one needs to know this, therefore simply click ‘Update’, ‘Generate’ and then Save the password (there is no need to reveal the generated password or note it down).
- Roles - You need to assign one Role to the user (only one Role may be assigned to an API User). Please note that the role you choose will affect the permissions allocated to your API User and therefore which permissions, fields, and data can be accessed by the API when you allocate this API User to an API Key. You can design a Role specifically for the API User if you need to restrict certain aspects of the system from being accessible via the API.
- System Email Address, Email Display Name, Your Direct / Internal Email Address - These all need to be set on the API User, but you should use a generic email address that is not used by any real users. If you are not using Single Sign On, please note that this email could be used to reset the API User password, therefore it is best to use an email address that either no one can access or that is restricted only to administrators. It does not necessarily need to be a working email address, because no one should need to see emails delivered to it.
Once you have set all these fields, click Save to save the user record.
-
Assign IP Restrictions:
Now that you have created the user record, for the user to be able to access the API, you need to specify at least one IP range in the ‘Restricted IP Access’ section.
- Click Add button in the Restricted IP Access section to add a new IP range.
The value in the ‘IP Address’ section can either be a single IP address or an IP range using CIDR notation. IP addresses/ranges can either be IPV4 or IPV6. You can add more IP addresses/ranges by clicking the Add button again, if necessary.
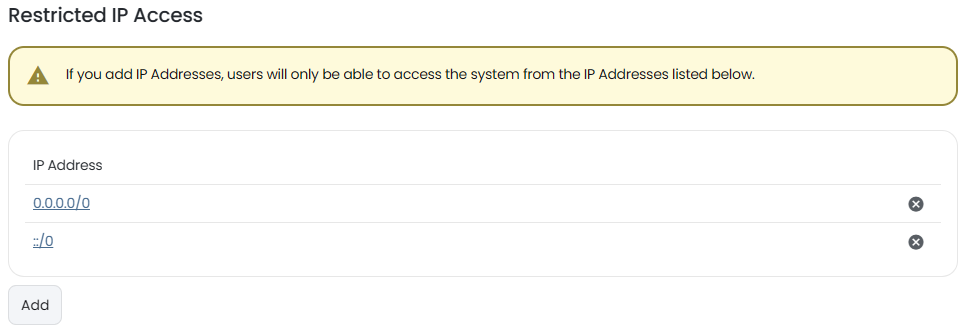
Click Save once you have added all the required IP addresses/ranges. Your API User is now configured and ready to be allocated to an API Key.
- Click Add button in the Restricted IP Access section to add a new IP range.
Setting Up An API Key
-
From the menu bar navigate to
Admin > System/Security Settings > API Keys.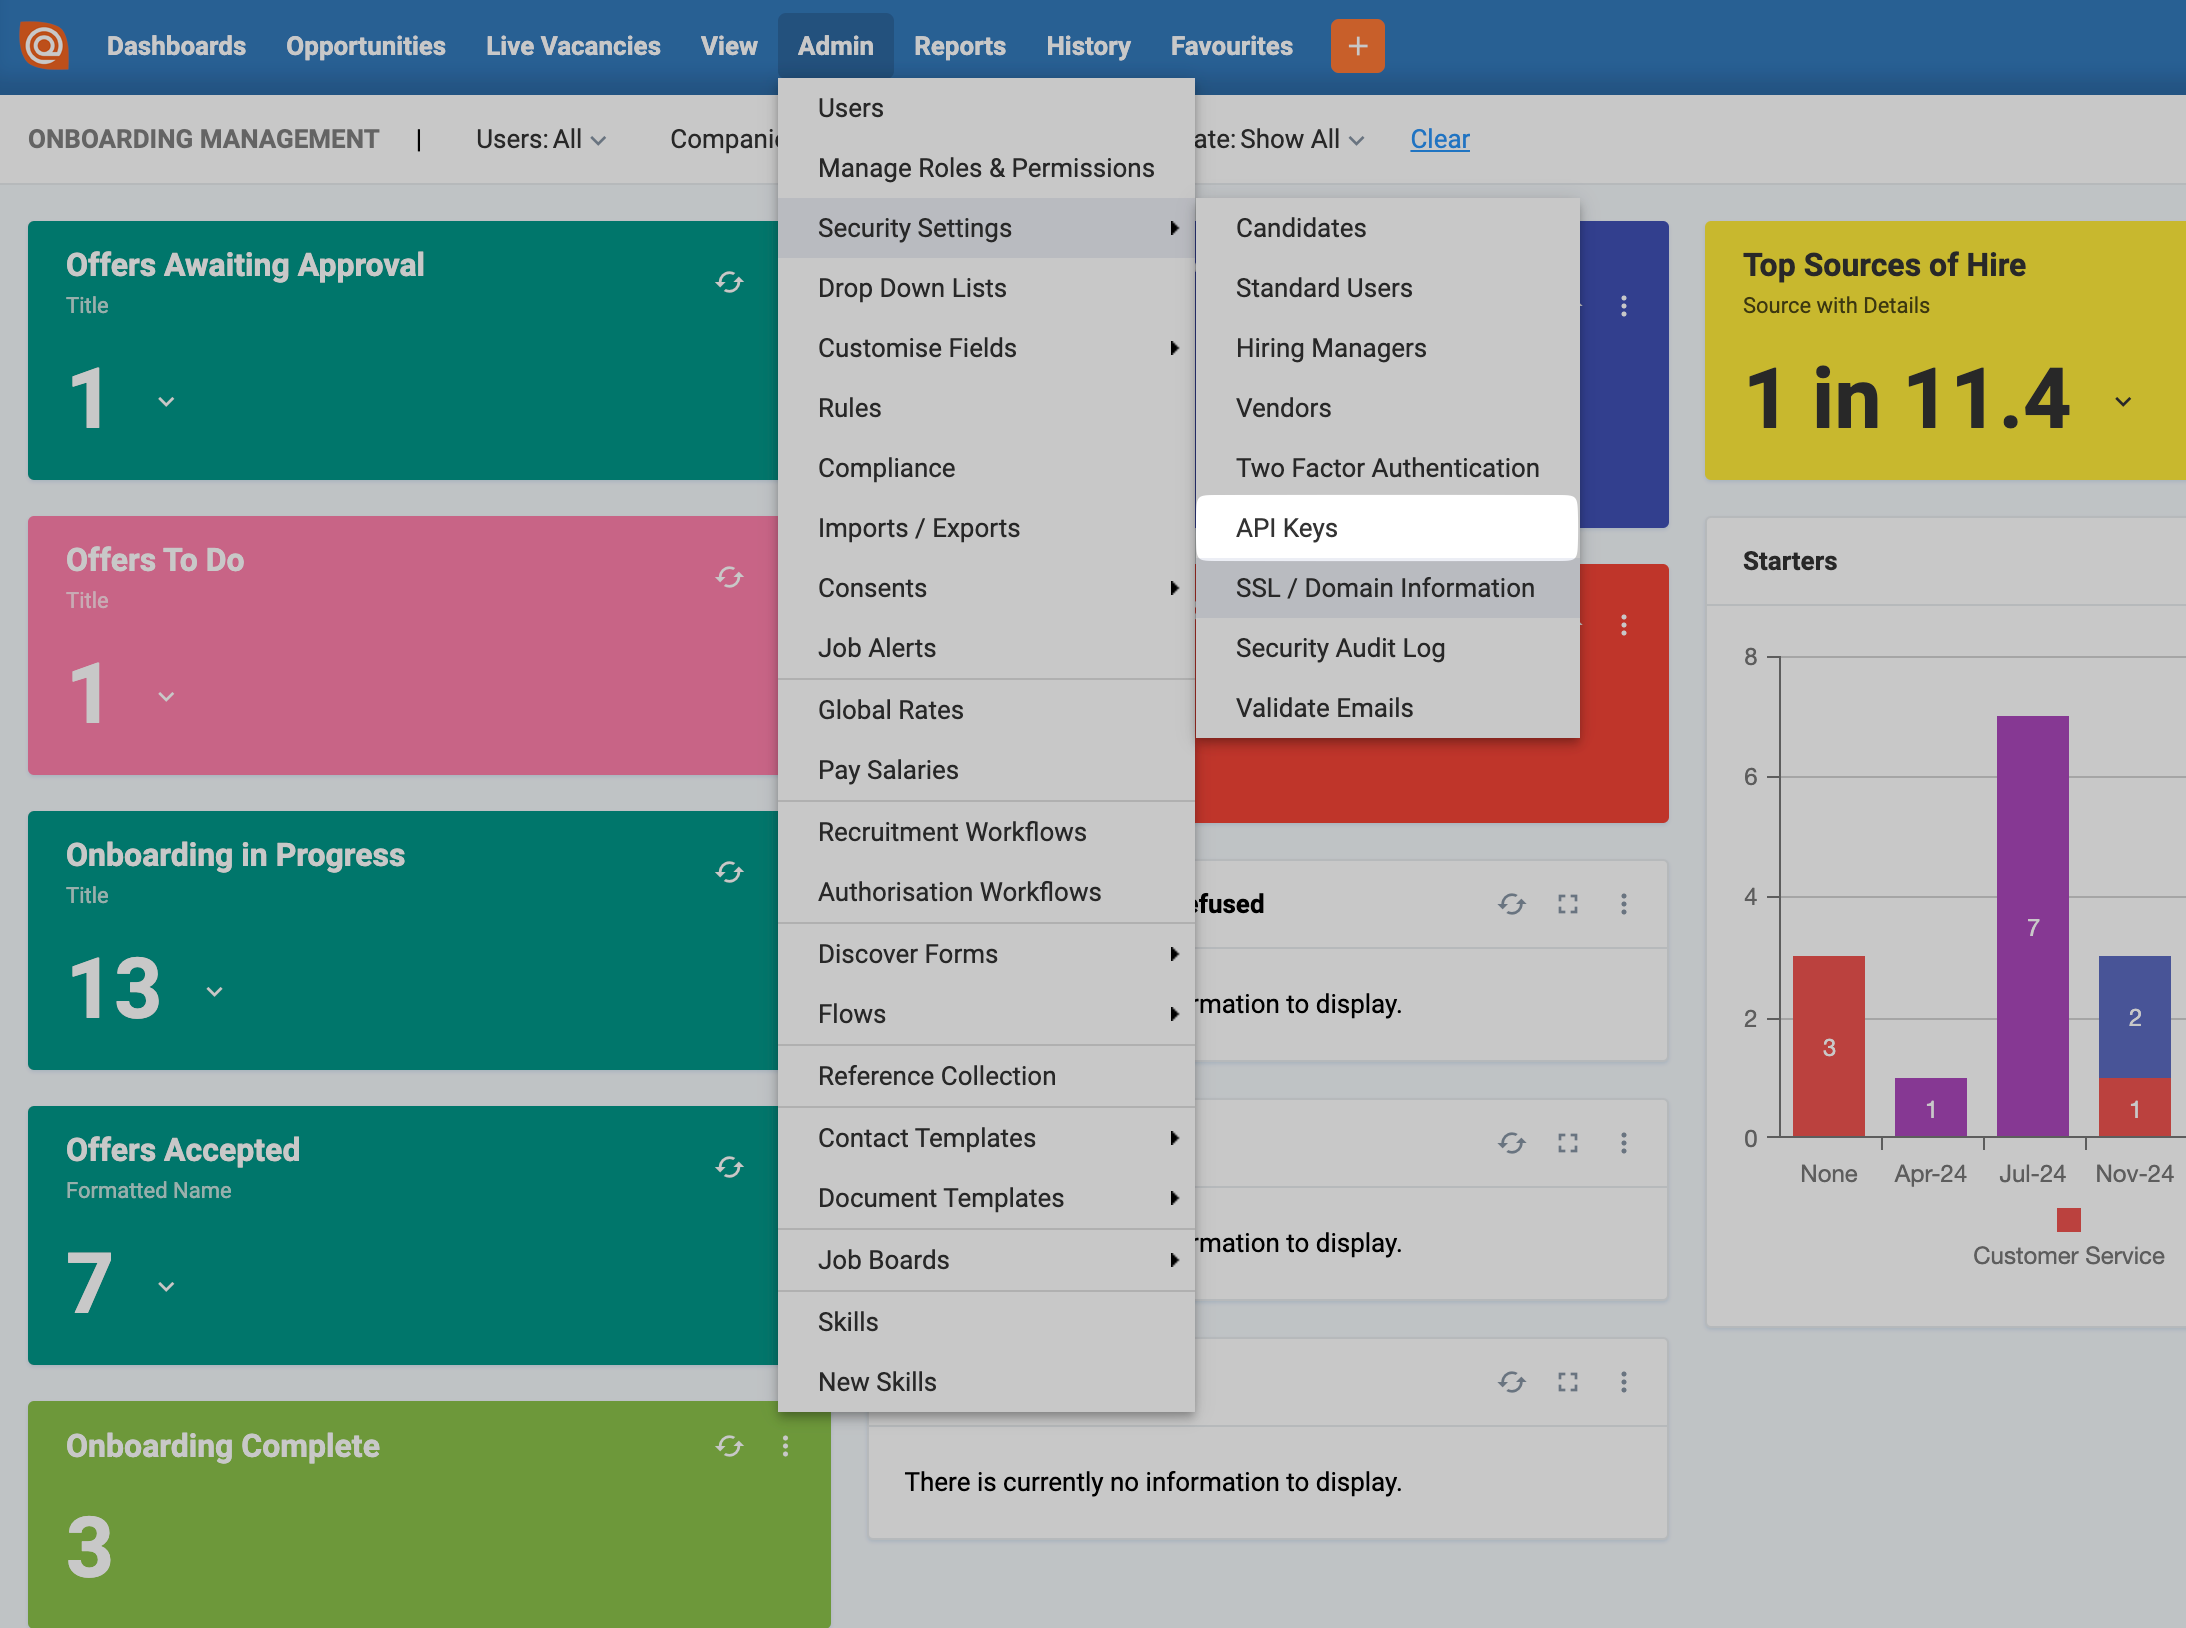
-
To create a new REST API Key, click New > REST API.
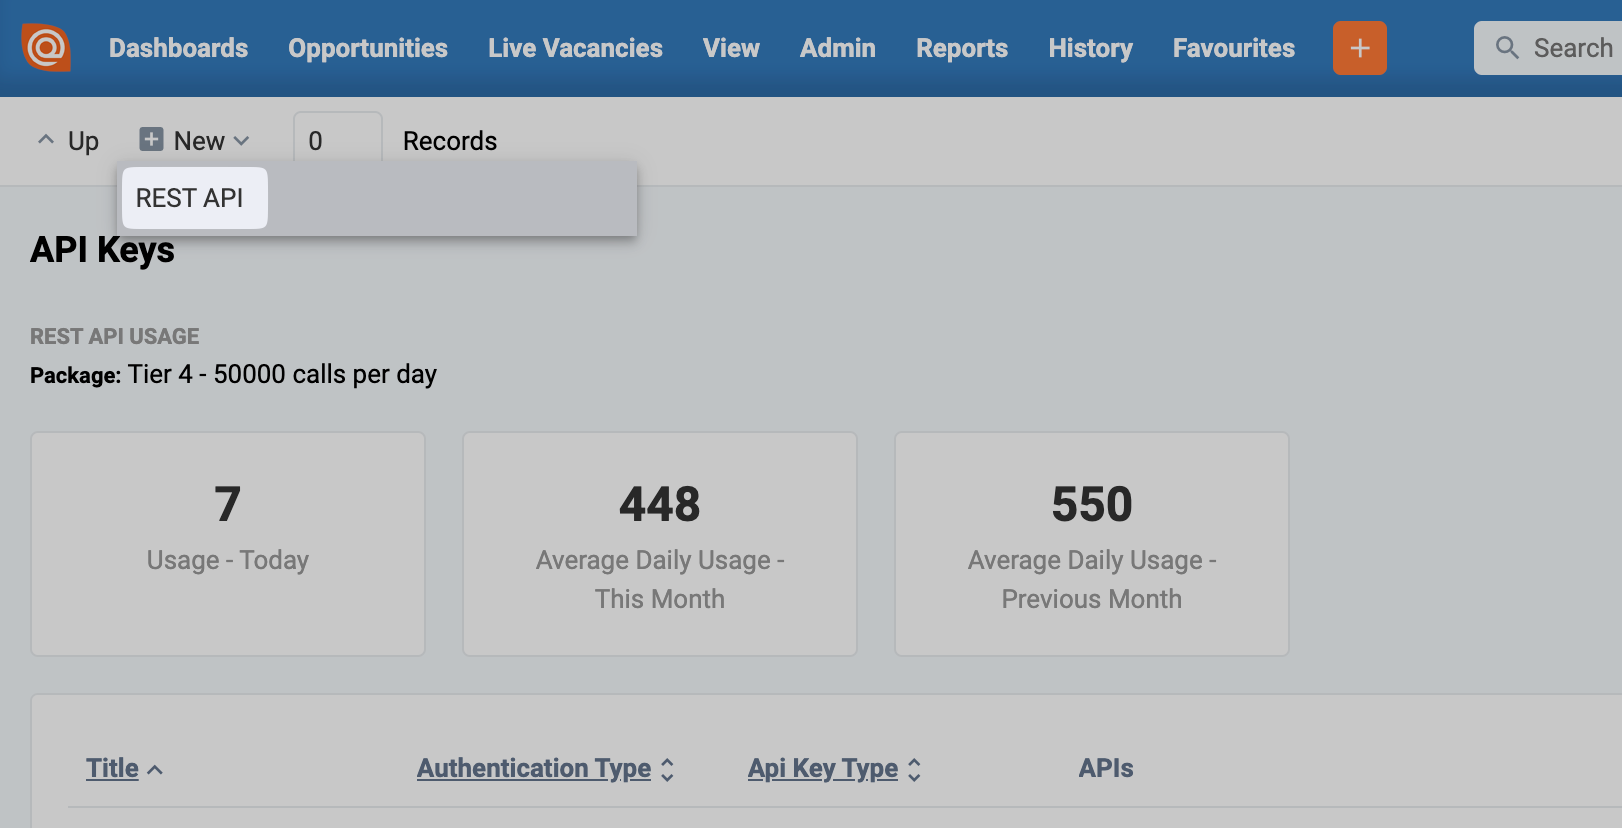
On the following screen, you will need to set the following fields:
- Title: Enter a name for your API Key.
- Run As User: Select the user that was created in the first part.
Once you have set both of these fields, click Save to create the API Key.
You will now be presented with a screen showing the Client ID and Client Secret, that you will need for Eploy integration with Knit. -
Finally, you need to assign API Permissions to your API Key. To do this:
-
Click the Add button in the API Permissions section
-
Select the API endpoints you wish to grant permission to, and tick the relevant boxes to assign View, Insert, Update and Delete permissions.
Once you have assigned all the necessary API Permissions, click Save to save your API Key.
-
Updated about 2 months ago