Microsoft Dynamics Business Central
Microsoft Dynamics Business Central
Steps:
-
Create a Microsoft Dynamics Business Central account.
-
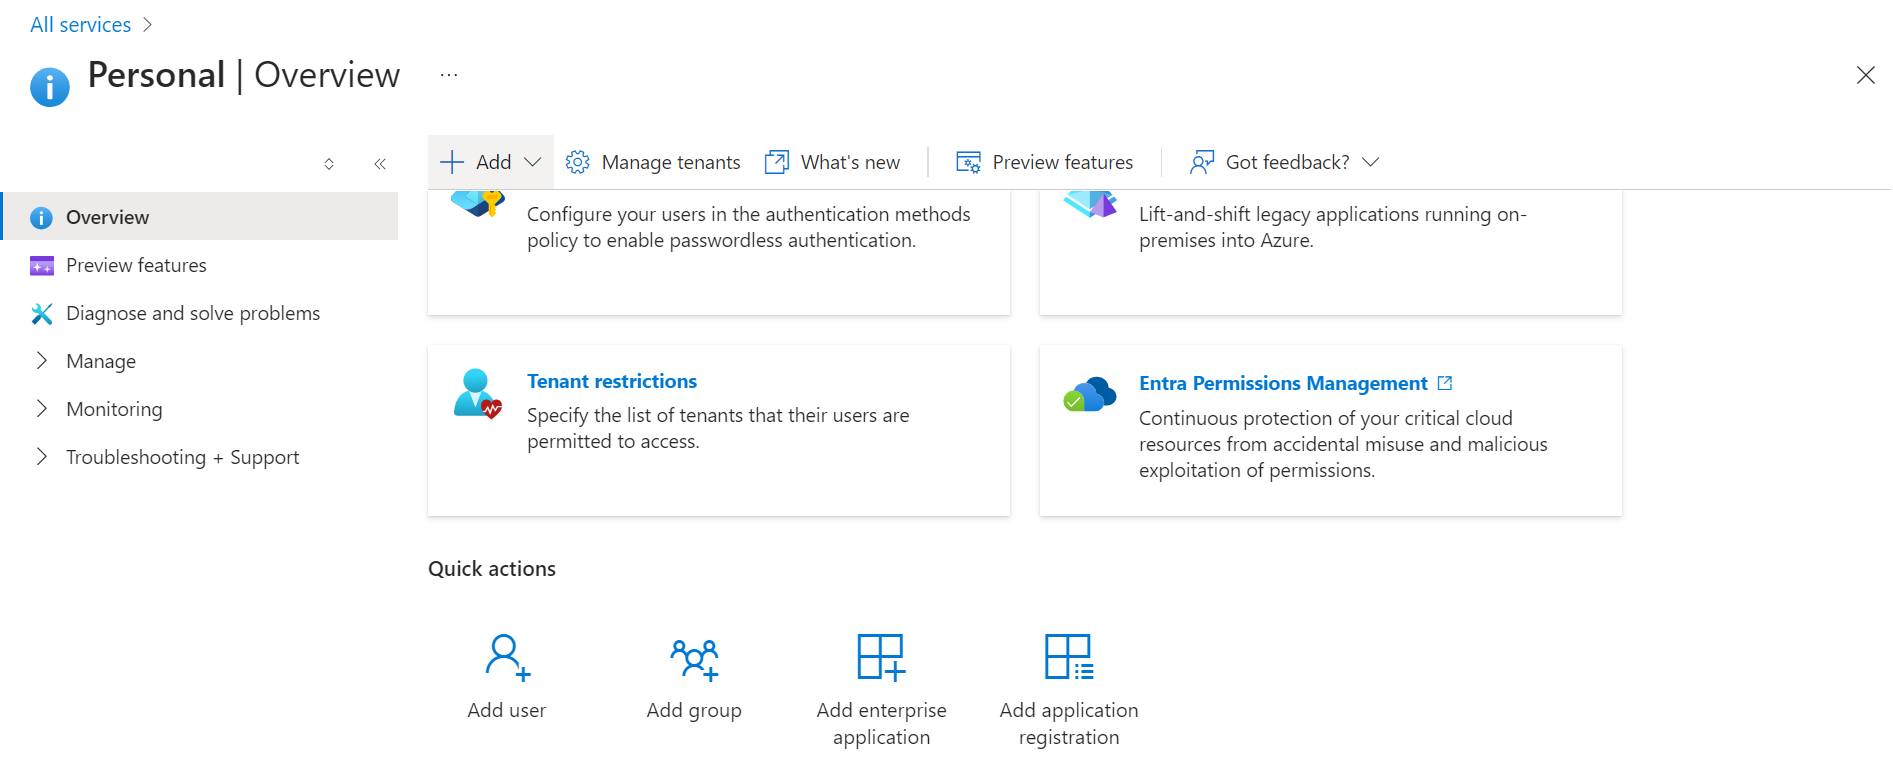
Navigate to Microsoft Entra ID(from left menu) and then select + Add application registration and enter the following details:
- Enter a short name for your application.This name will be displayed to the end user when they authorize.
- Under Supported account types, select Accounts in any organizational directory (Any Azure AD directory - Multitenant) and personal Microsoft accounts (e.g. Skype, Xbox), which allows Knit to access data in Dynamics 365 Business Central.
- Under Redirect URI, select Web and then enter
https://app.getknit.dev/oauth/authorize
-
Select Register.Copy the ClientId generated on registration.
-
Navigate to Certificates & secrets and select + New client secret and then enter following details in Add a client secret dialog box:
- Enter a short description for your secret.
- Select most appropriate expiration option under Expires.
-
Select Add.Please copy Secret value.
-
Configure access permissions which will control the data your app can access in Dynamics 365.
-
Navigate to API Permissions and then select + Add a permission.
-
Select Dynamics 365 Business Central from Request API Permission pane.
-
Select Delegated Permissions and select following permissions:
- user_impersonation
- Financials.ReadWrite.All

-
-
Select Grant admin consent.
-
Your setup for Microsoft Dynamics Business Central is complete now.
-
Store clientId and clientSecret somewhere safe with you. You will need to pass these to Knit.